This guide provides step-by-step instructions to install HttpCanary with the necessary certificates on non-rooted Android devices running versions 11 or 12.
- Ensure any previous installations of HttpCanary are uninstalled.
- Download the required files and extract them to your device.
- Locate and install the
HttpCanary v2.7.0application from the extracted files. - Open the app; upon seeing "Successfully Imported App Data," exit the application.
- Navigate to your device's Settings > Security > Credentials Storage.
If unavailable, search for "certificate" in Settings. - Select "Install Certificate From Storage".
- Choose the "CA Certificate" option.
- Confirm by clicking "Install Anyway".
- From the extracted HttpCanary folder, go to the Certificate directory and select the
HttpCanary.pemfile.
- Return to the Credentials Storage section and select "VPN & app user certificate".
- Navigate to the Certificate folder and select the
HttpCanary.p12file. - Enter the password: HttpCanary.
- Name the certificate as "Http Canary" and confirm.
- In the Credentials Storage, select "Wi-Fi Certificate".
- Again, choose the
HttpCanary.p12file. - Enter the password: HttpCanary.
- Name the certificate as "Http Canary" and confirm.
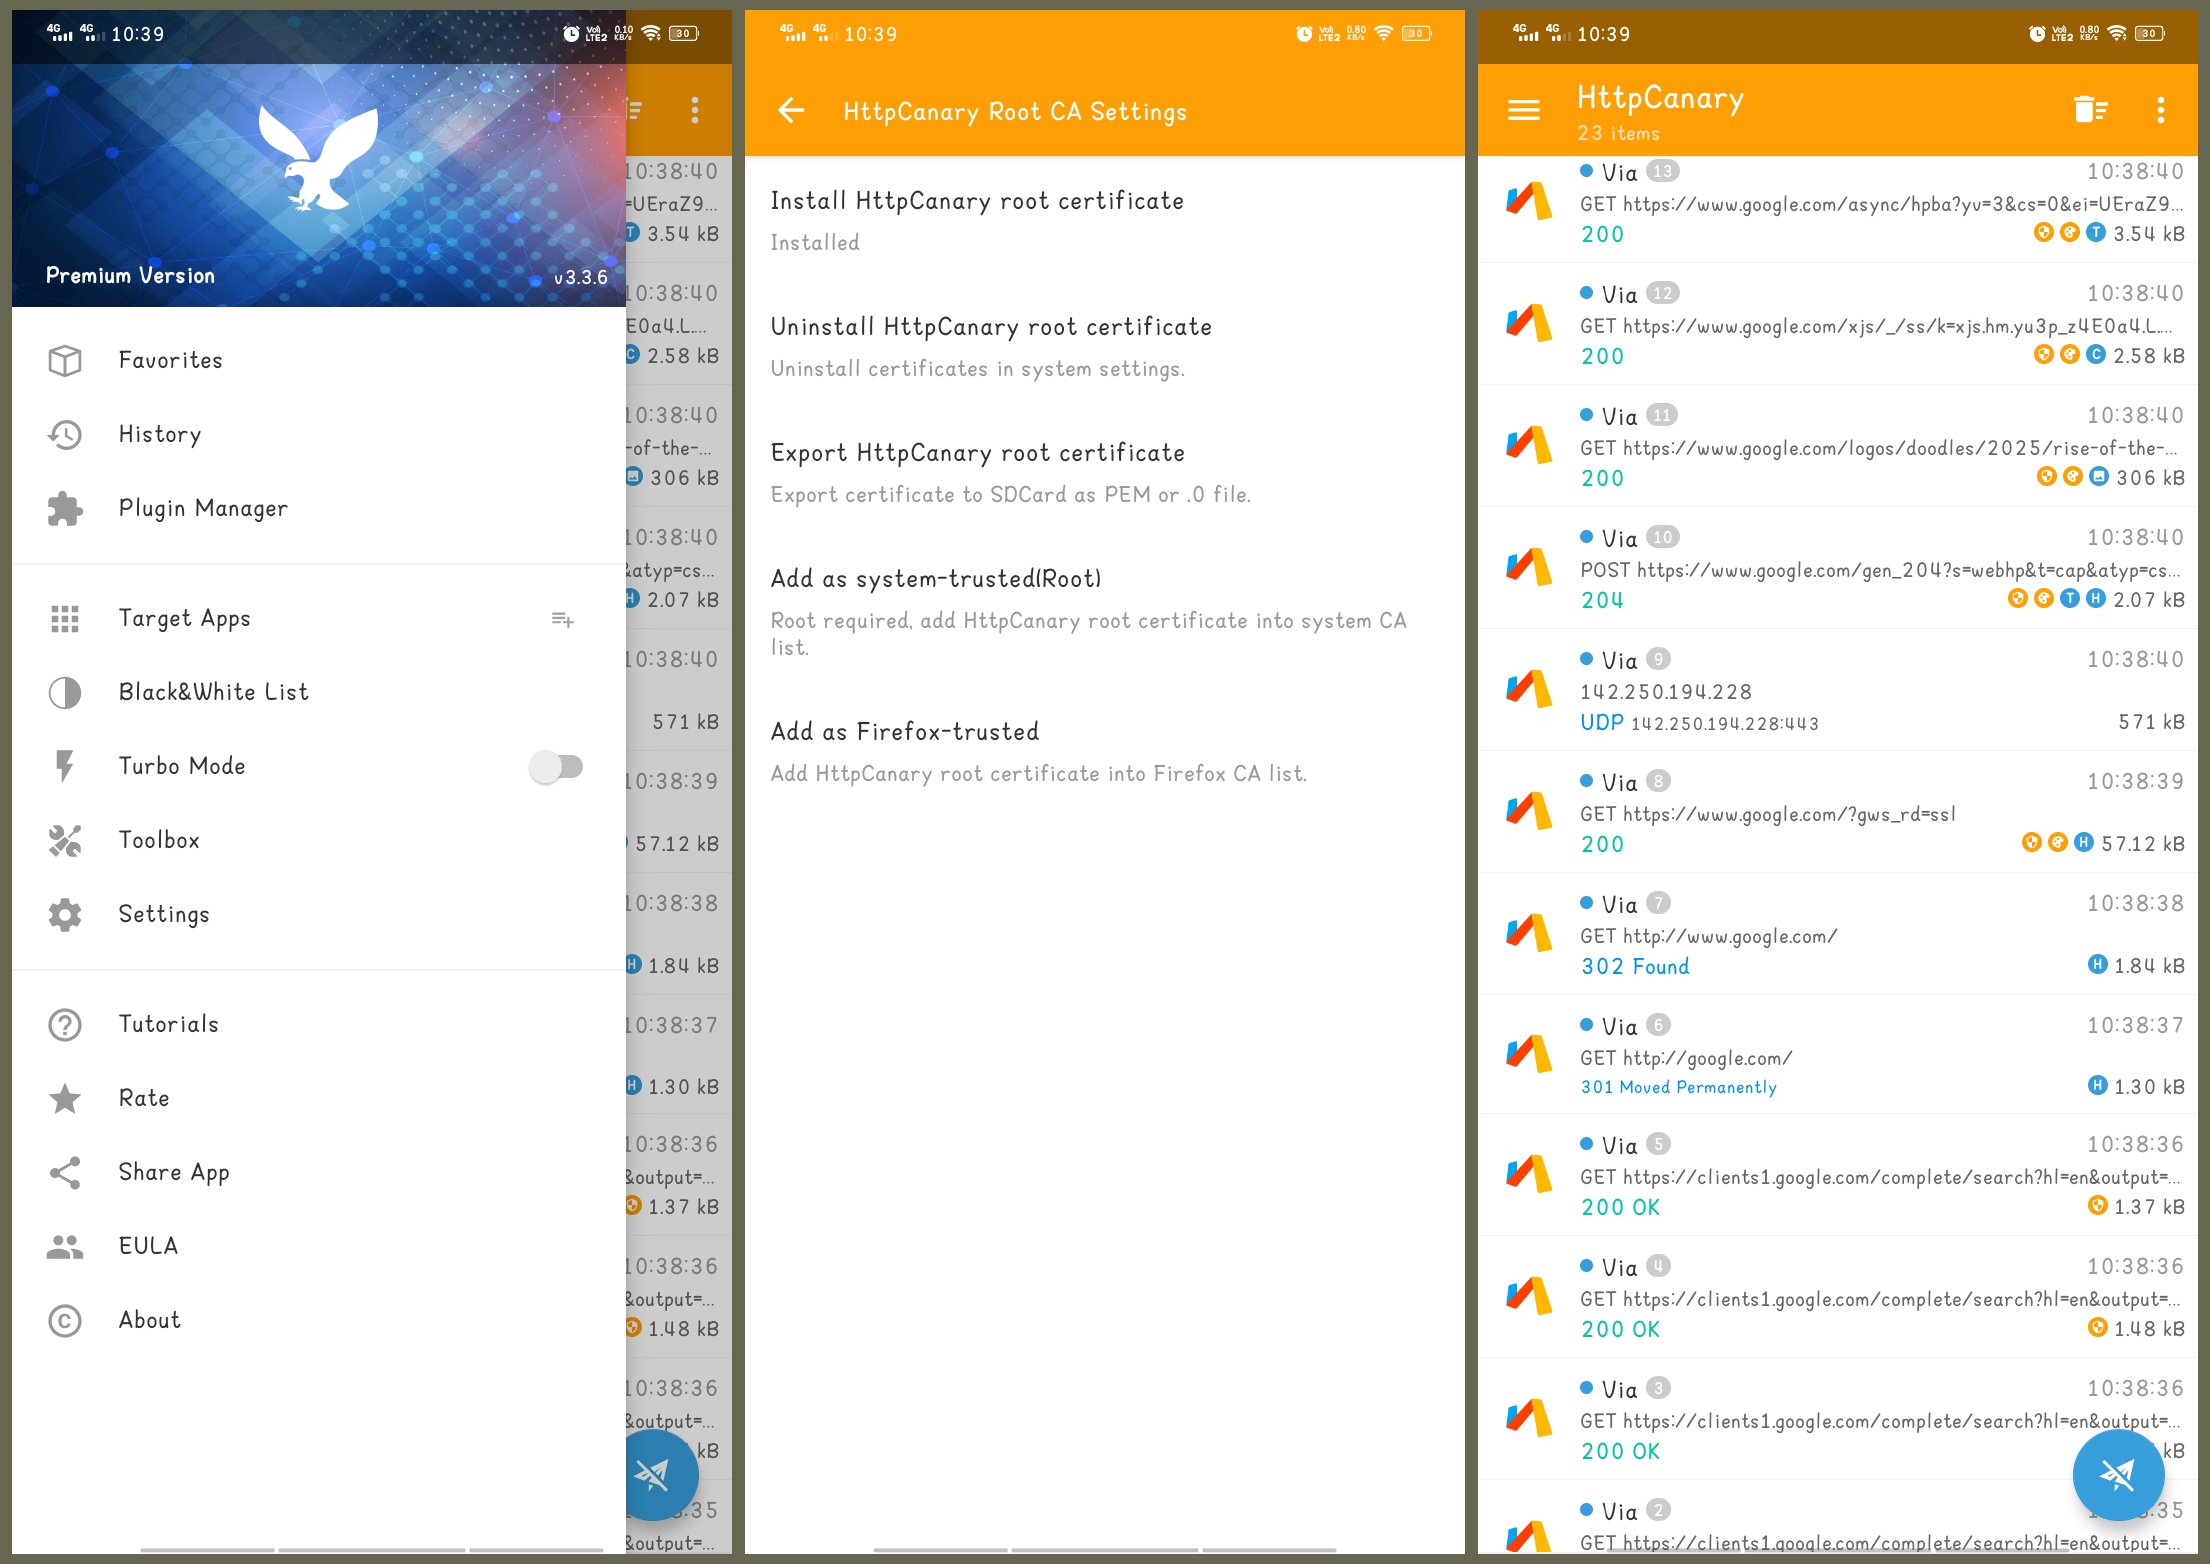
- From the extracted folder, install the
HttpCanary V3.3.6application. - Open the app and accept the terms to complete the setup.
Following these steps will successfully set up HttpCanary with the necessary certificates on your non-rooted Android 11/12 device.